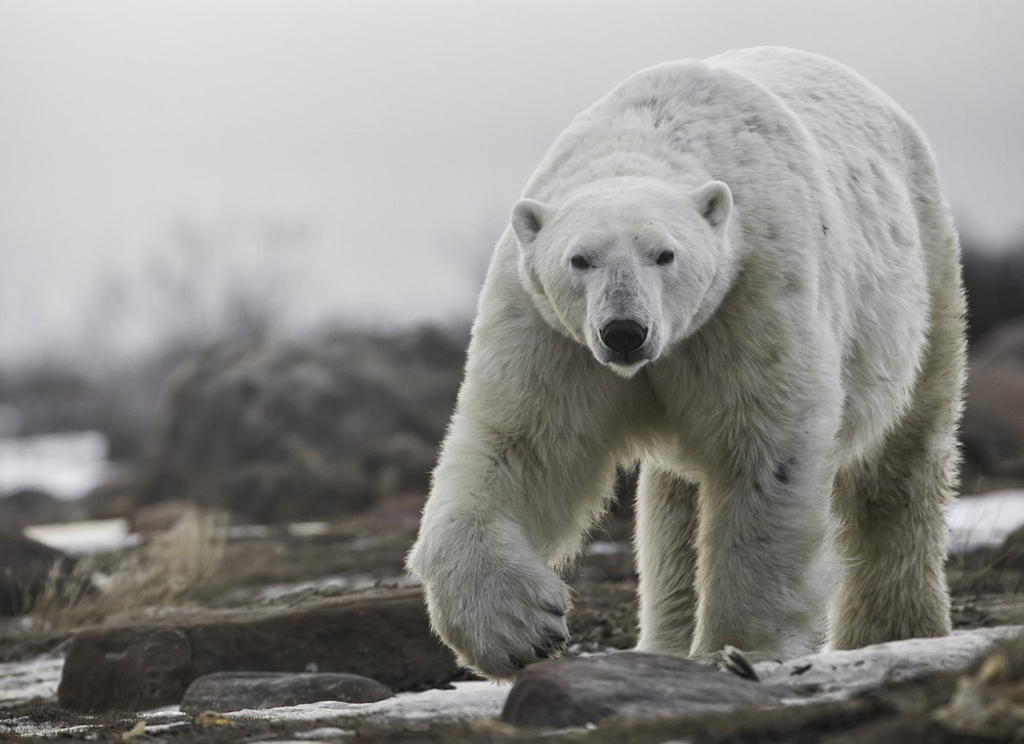
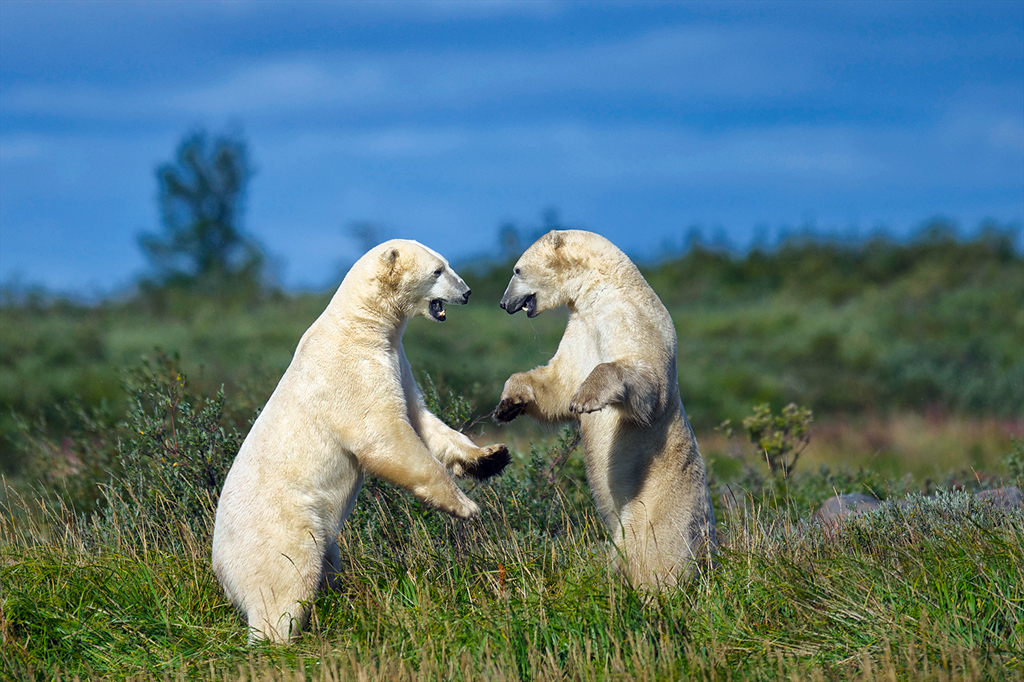
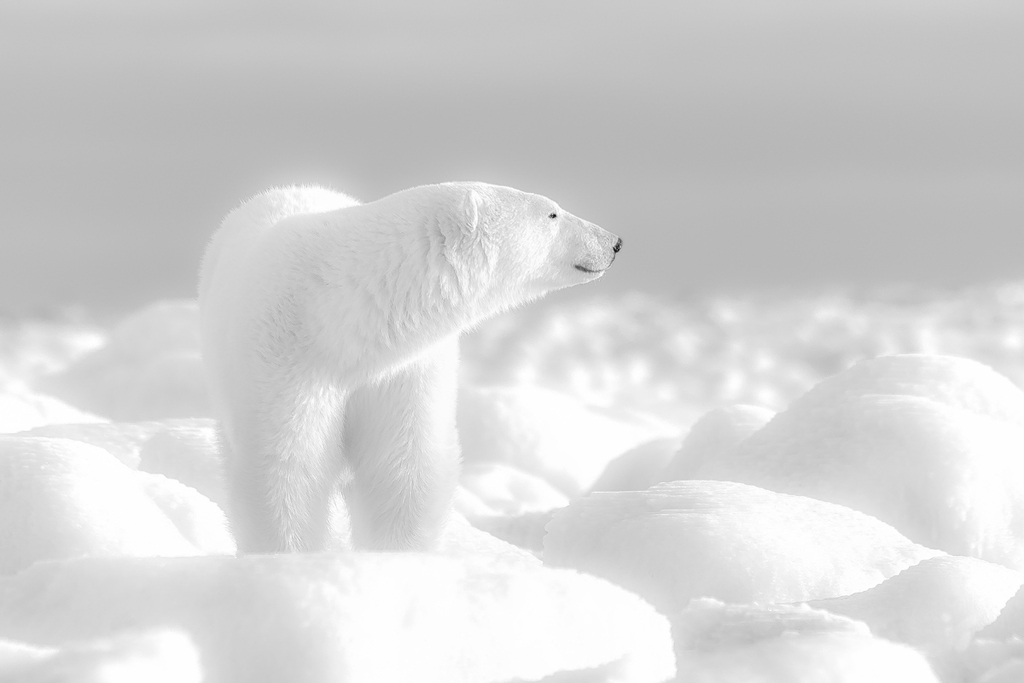
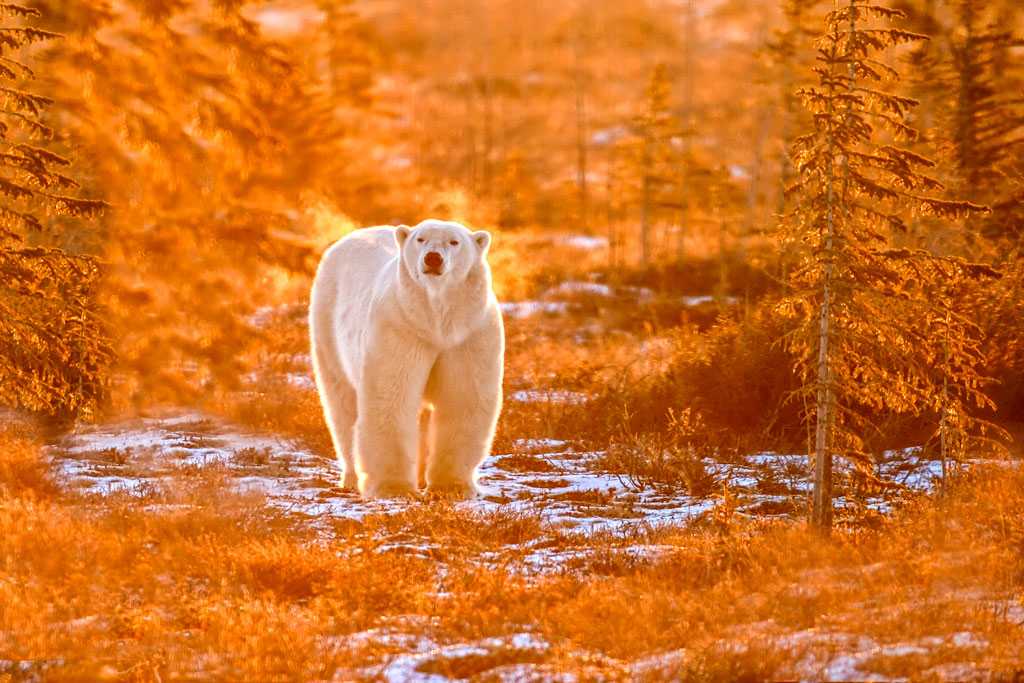
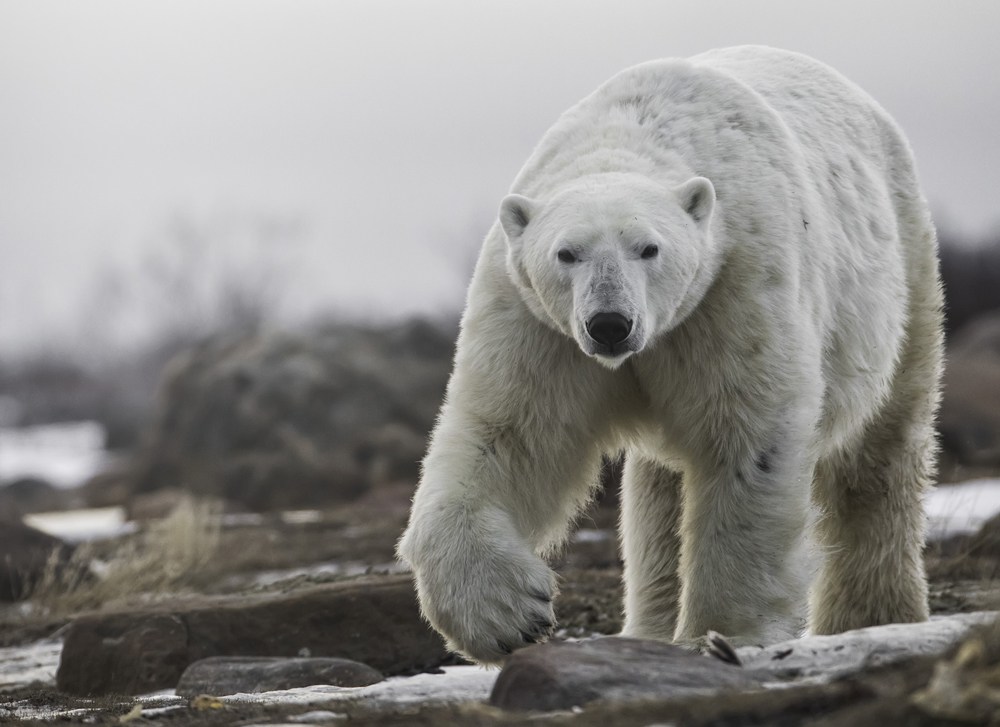
How close to the polar bears will we get?
It’s a question we get from almost every Churchill Wild guest. Most are just asking out of curiosity or for safety’s sake, but for photographers it can mean a world of difference in what equipment they bring.
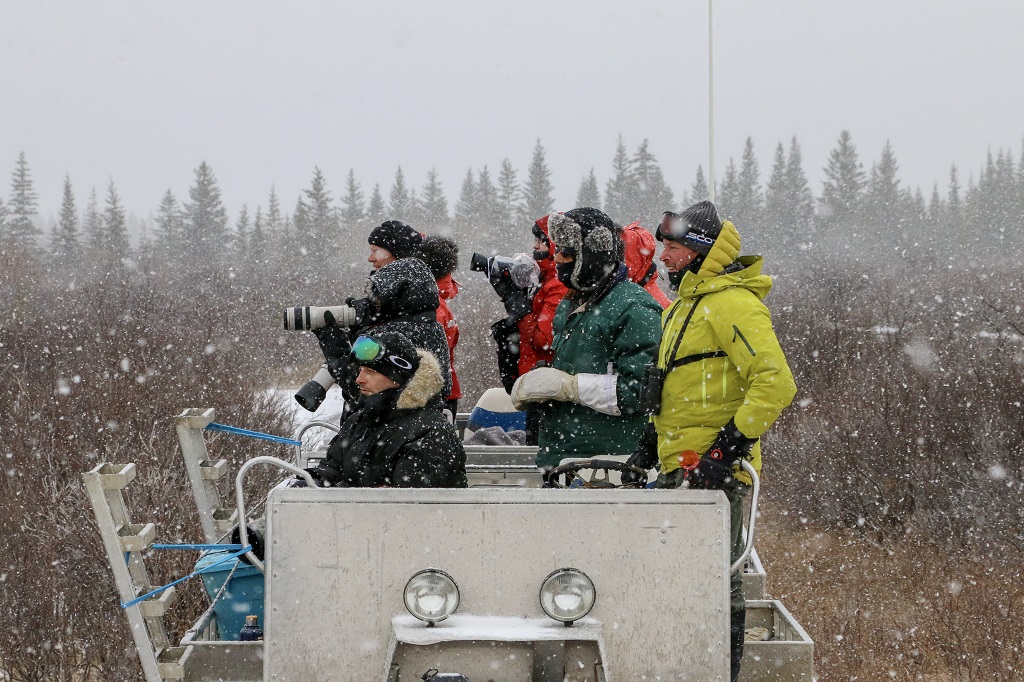
Avid and professional photographers come in droves to photograph polar bears and other natural wonders at the Churchill Wild lodges each year and, with that in mind, we’ve put together a few of the tips and gear recommendations that have served our guests well.
Polar Bear and Wildlife Photography Tips
- Practice photographing moving subjects before your trip. You’ll be glad you did when you catch a polar bear on the move or see that bull caribou prancing past the lodge!
- Use your zoom. Approaching wild animals can spook them. Make use of your camera’s zoom function in order to avoid ruining your (and your fellow travelers’) photo opportunities.
- Snap quickly and often. Such is the beauty of today’s digital cameras. Doing this will compensate for the animal’s random movements and improve your trip portfolio immensely.
- Use a fast shutter speed. Animals often move quickly or unexpectedly. To compensate for this, ensure that you are aware of your camera’s various abilities to “freeze” the action.
- Avoid flash. Some animals are startled easily. The use of flash can put animals on edge and cause them to move off.
- Disable all camera sounds. As mentioned, wildlife can scare easily and even the slightest beep from your camera could cause them to move off.
- Use a polarizing filter near water. These filters reduce reflections which might otherwise overpower or interfere with your wildlife objectives. A daylight 80A filter is also a handy addition to your camera bag as it effectively lends a slightly warmer tint to any photo.
- Keep the eyes in focus. Keeping the animal’s eyes clear and in focus when shooting is crucial to the photograph’s overall quality.
- Shoot at different angles. Crouch, kneel, lie down, sit up, lean… do whatever you need to do to achieve variety. This is particularly useful with a still subject, however a great photo should always be your goal. Your portfolio (and your friends back home) will thank you!
- Consider a tripod. Tripods are priceless when dealing with long lenses or when clarity is critical to a shot’s quality.
- Ensure that your image stabilization system is active. Image stabilization will greatly assist in reducing the vibrations that are inevitable when hand-holding a camera.
- Have an extra memory card and charge your batteries. There is nothing more frustrating than running out of space or batteries when on a photographic expedition. You’ll be at a fly-in only wilderness lodge and the opportunity to obtain batteries or cards is limited, so please come prepared!
What lenses should I bring?
In a nutshell, here are the recommendations of our original head photographer Dennis Fast, who has taken more photos at the Churchill Wild lodges over the past 26 years than any other photographer. And some famous shots too!
- 24-70mm (or wider) – important for landscapes and northern lights.
- 70-200mm – for polar bears in close and landscapes at a distance.
- A longer zoom 100-400mm or 150-500mm for more distant wildlife.
- A super long (500mm or 600mm) if you’re a pro and can manage the weight.
Hudson Bay is the kind of place where a long lens can be extremely useful, but when bears are close to the fences around our lodges you will be reaching for a 70-200mm and possibly a multiplier. This combo can be used with success, but the quality is not quite on par with a big prime lens.
The Hudson Bay coast is a vast open space and extra reach is valuable, so a 500mm can end up being your best friend. If you’re averse to the heft of such a big lens, you’ll still get some great shots with a 100-400mm but the ‘heavy artillery’ can be very useful at times.
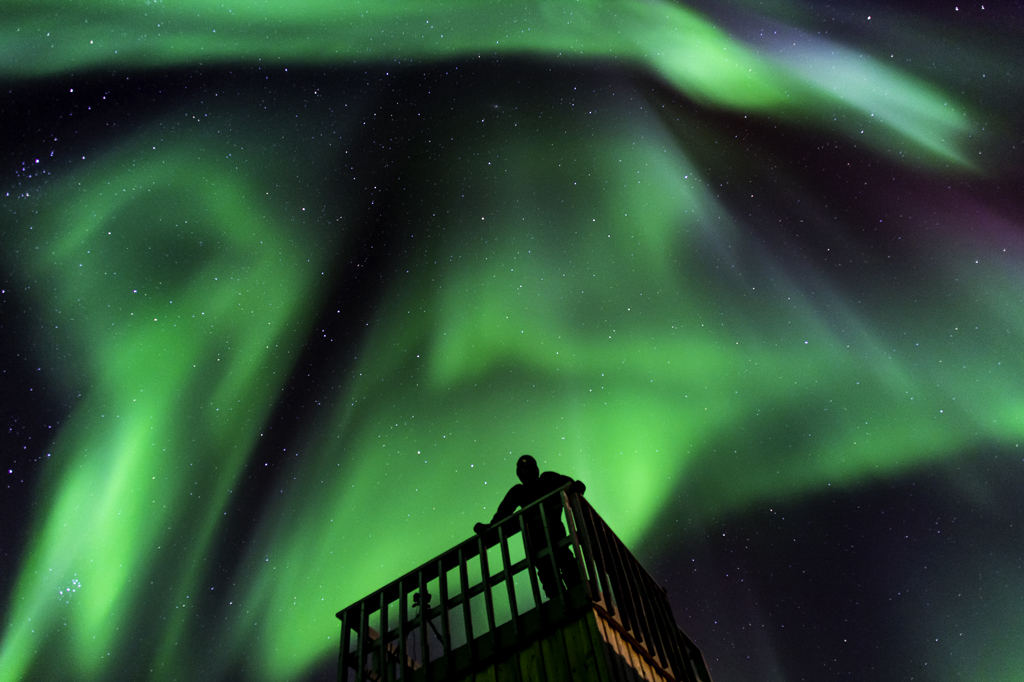
Last but not least, don’t forget about the aurora! A wide-angle zoom is essential for capturing the northern lights. Churchill Wild guide Paul Scriver offers a few more northern lights photography tips here.
How can I pack all the camera gear I need plus my clothes and still be within the 50-pound weight limit?
The weight and space restrictions on flights are extremely rigid and it goes without saying that big lenses are heavy. To get around that you’ll likely have to cut down on the amount of clothing you bring. The airline does not weigh passengers so make the most of the pockets on your bulky winter coat (wink wink).
It usually works well to pack a 500mm, or whatever your biggest lens is, in its soft-sided case and then place it inside your duffel bag (along with a tripod if you’re bringing one) and then stuff clothing around the bag, or even inside, if space allows, for extra protection.
The smaller planes also carry groceries and supplies to outfit the lodge and make your adventure special (cocktail hour just isn’t the same without wine and Tundra-tinis!) which is another reason to pack within the restrictions.
It would be nice to have unlimited room but we just don’t. Fortunately, you don’t have to bring a full arsenal of lenses to get great photos. Regardless of what gear you choose to bring, we’re sure you’ll come away with some spectacular photos.
And some once-in-a-lifetime memories.

